Using Containers to Install GUI-based Tools on ARCHER2
By David Henty EPCC on September 21, 2021
Tags:
We have all become accustomed to having a wide range of pre and post-processing tools available to us on our laptops, which can make working on the login nodes of a large HPC system such as ARCHER2 rather inconvenient if your favourite tools aren’t available.
On something fairly standard like an Ubuntu laptop, installing a new
tool is very simple if a package exists (sudo apt install new-tool);
even compiling from source is usually quite straightforward if you
keep all your system software up-to-date (./configure; make; make
install).
The problem …
However, this isn’t so simple on ARCHER2. Pre-built packages want to
install themselves in the system directories, hence the requirement
for sudo, but you can’t do this on ARCHER2 because external users
don’t have root access. Compiling from source is possible in
principle, but in practice the build process can require additional
system libraries; these may not exist on ARCHER2, or might not be the
required versions. On your laptop you’d simply install these with
sudo, but of course you can’t do this on the login nodes. This is a
particular problem for GUI-based tools which can have dependencies on
a large number of graphics libraries.
The solution …
This is exactly the situation for which containers were designed. A container can basically replicate your local environment on a remote system, meaning you can install software on your laptop and run it on ARCHER2. Containers ensure that this is done securely by using a sandbox model. Remarkably, the overhead of this virtualisation is usually very low and applications can run at almost native speed.
As an example I will install the display program from the
ImageMagick suite which we use on a number of courses as it can render
a wide range of image formats. I will use Singularity as this is the
containerisation software that is supported on ARCHER2.
The first thing to do is to create a “recipe” for the container which
is a set of build instructions. I created display.rec:
  Bootstrap: docker
  From: ubuntu

  %help
  Singularity container for running "display" on ARCHER2

  %post
  echo "Updating repos"
  apt update -y
  echo "Installing ImageMagick suite"
  apt install -y imagemagick

  %runscript
  exec display "$@"
The first few lines just say we will be using Ubuntu as the base Linux
OS. The most important part is the %post section where you execute
all the instructions to install the software. Note that you are
automatically running as root when you build a container so you don’t
need sudo. Since the display program is supplied as part of the
Ubuntu imagemagick package, all we need to do is update the package
list and install the most recent version (the flag -y ensures that
you automatically answer “yes” to any questions during the install
process).
You can also compile from source, but note that you start with a very bare OS so you will have to install compilers etc. within the container before building the application.
The %runscript line says what to do when you run the container: here
we invoke display and pass through all the arguments passed at
runtime via $@.
Assuming you have installed Singularity on your own Linux laptop (or
in an Ubuntu VM if you have a Windows OS), building the container
display.simg from the recipe is very simple:
user@laptop$ sudo singularity build display.simg display.rec
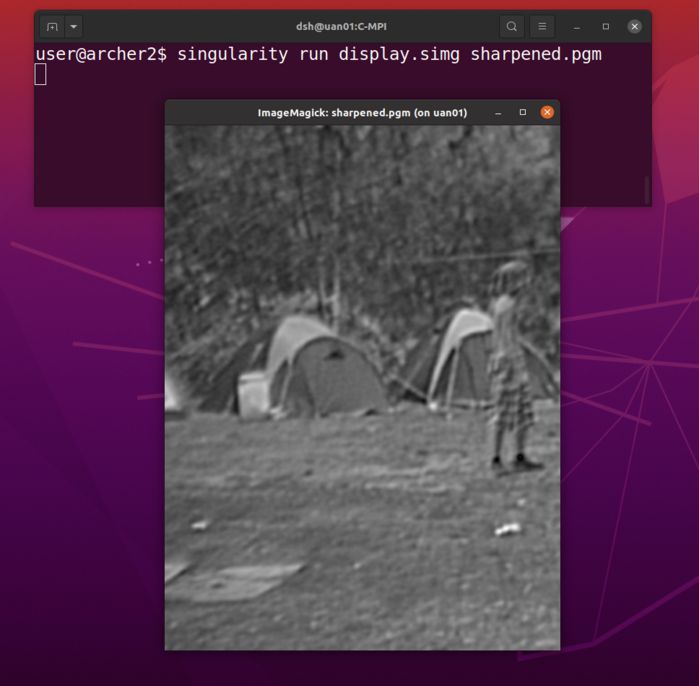
You can then test this works on your laptop, e.g. to view
sharpened.pgm from one of the ARCHER2 courses:
user@laptop$ singularity run display.simg sharpened.pgm
If this works as expected, all you have to do is copy display.simg
to ARCHER2 and execute the same command:
user@archer2$ singularity run display.simg sharpened.pgm
(this assumes that the container is in your current working directory;
in practice you will have to give the full path to display.simg).
This won’t run as fast as it does on your laptop because the graphics are being sent from ARCHER2, located just outside Edinburgh, all the way to your local system over the JANET network, domestic broadband etc. However, this often just manifests itself as a slight delay during startup: once running the performance seems perfectly acceptable.
We used this approach in practice on the “Parallel Performance Analysis using Scalasca” course in July to install the cube GUI required to view trace files produced by the scalasca profiling tool. There was a slight subtlety that their tool chain expected to be able to execute cube directly and not via a container. The simple
solution was to create a small executable shell script called cube that does nothing but run the container:
  user@archer2$ module load scalasca
  user@archer2$ which cube
  /work/y07/shared/cube/bin/cube
  user@archer2$ cat /work/y07/shared/cube/bin/cube
  #!/bin/bash
  singularity run /work/z19/shared/cube/bin/cube.simg $*
In conclusion …
I have to admit that I was previously a bit skeptical about containers - I think their role in achieving true reproducibility in computational science is often overstated - but for the case of installing useful tools on the ARCHER2 login nodes without requiring the intervention of the systems team then I have found them incredibly useful and remarkably easy to use.
Note that we run an ARCHER2 course on containers - all the material from the most recent run in July is available from (https://www.archer2.ac.uk/training/materials/).